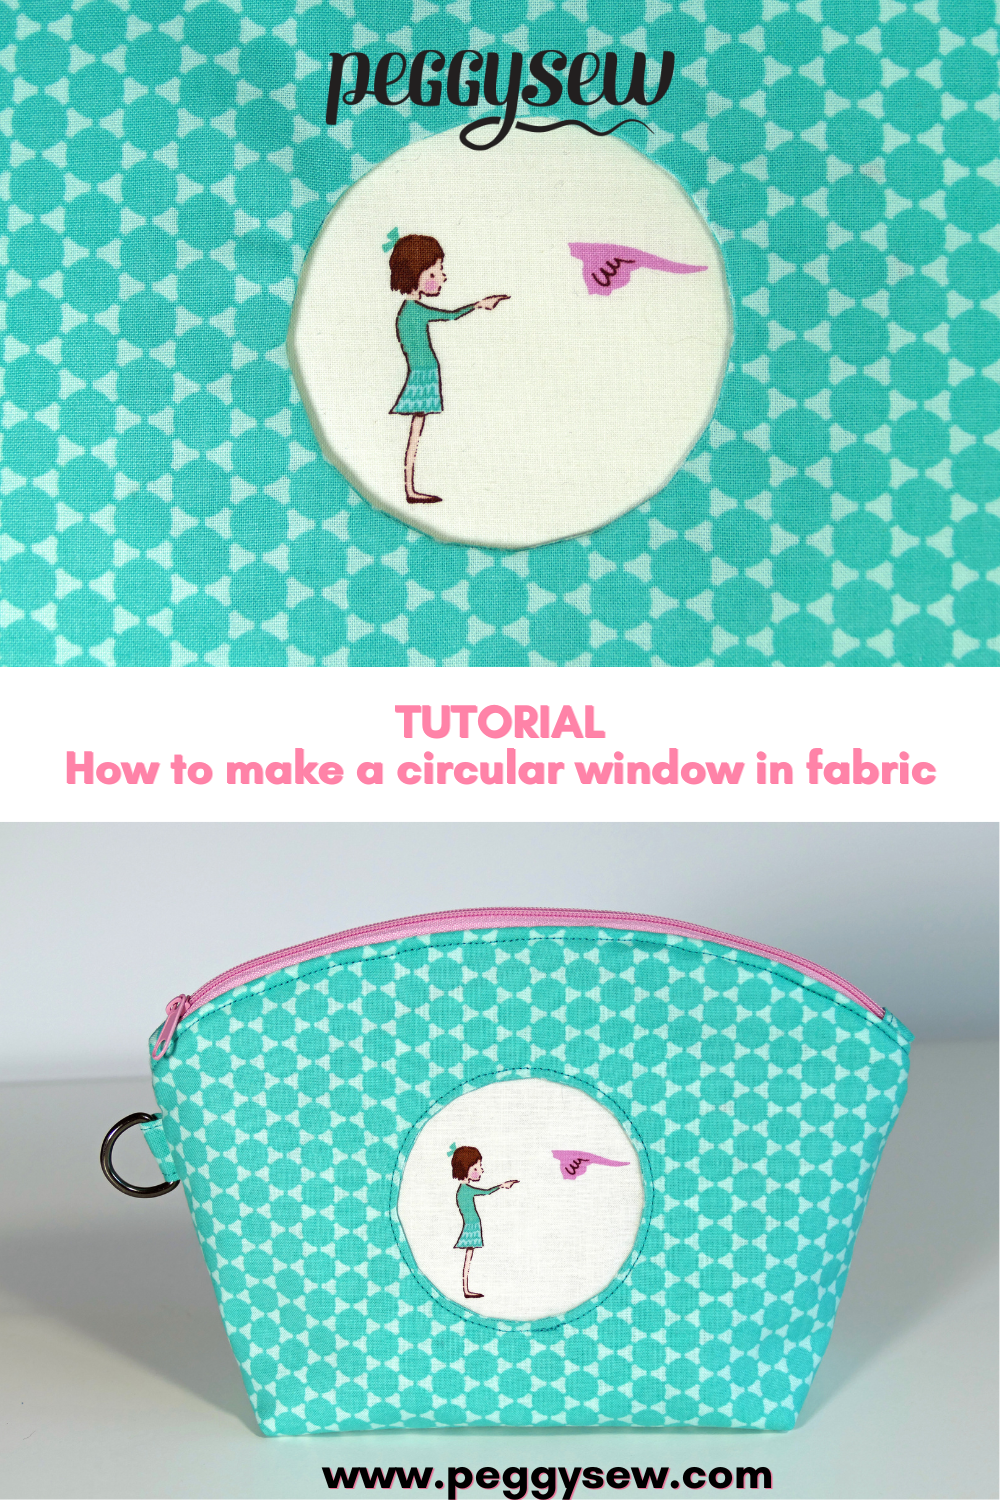
With a circular window, you can make your sewing creations truly unique. In this tutorial, I will show you step by step how to create a beautifully finished circular window in fabric. With just a few basic sewing supplies and simple techniques, you can transform your projects into something truly special. Let’s get started!
Supplies Needed:
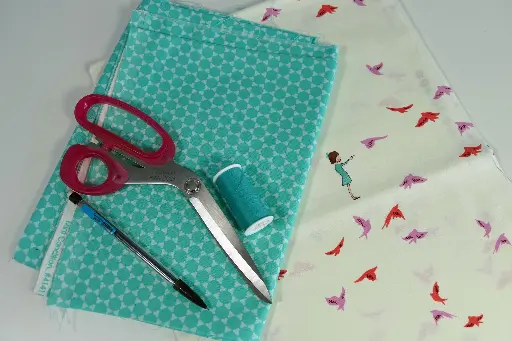
- Main fabric (the one from which you want to cut the circle)
- Fabric with a print (for the background behind the circle)
- Extra piece of main fabric or matching fabric (to finish the edge of the circle), at least 5 cm wider than the circle you want to make. For example, if the desired diameter of your circle is 10 cm/ 4", prepare a piece of fabric that is at least 15 cm/ 6". This gives you an extra 2.5 cm/ 1" around all edges of the circle.
- Interfacing (optional, for added stability to the main fabric if needed)
- Fabric scissors or a rotary cutter
- Pins
- Matching sewing thread
- Iron
- Fabric pencil, marker, or chalk
- Material to draw a circle: compass, glass, bowl, etc.
- Double-sided tape
:
Step 1: Preparing the Circle
1. Determine the size of the circle based on the design or print you want to use. The size of the circle will also be the size of the finished window.
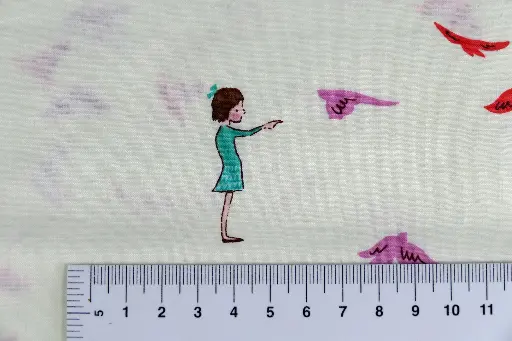

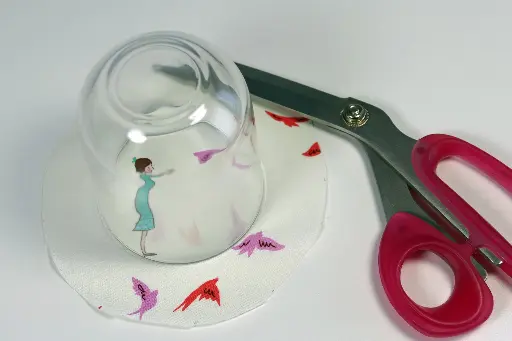
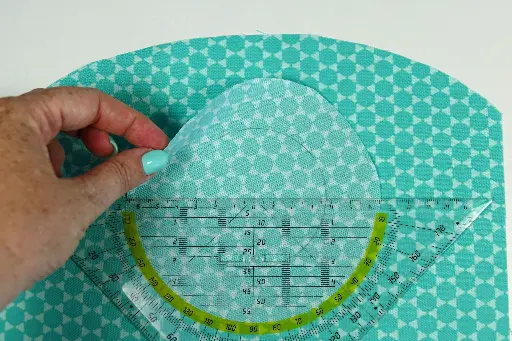
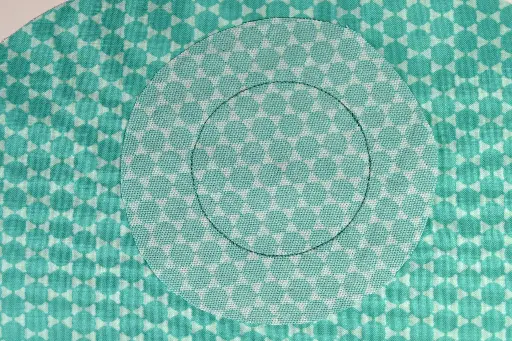
Draw the circle on the extra piece of fabric that is approximately 5 cm wider than the circle itself, giving you an additional 2.5 cm/ 1" on each side. Use a round object to draw a perfect circle. Mark the circle with a pencil, fabric marker, or chalk. Alternatively, you can first draw a circle on a piece of cardboard using a compass, cut it out, and then use it as a template to trace the circle onto the fabric. The size of the circle you draw now will be the size of the finished circle.

Cut out the printed fabric, ensuring that the cut piece is approximately 2.5 cm wider on all sides than the chosen circle diameter..
Stabilize the main fabric (optional): If your fabric is very thin or loosely woven, iron interfacing onto the back of the fabric where you have drawn the circle. This will provide extra stability.
Choose the location of the circle: Lay your main fabric flat on a work surface. Determine where you want the circle to be. This could be in the center or elsewhere on the fabric, depending on your design.
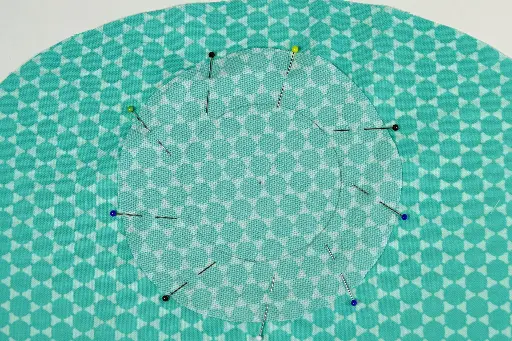
Place the extra piece of fabric with the drawn circle on top of the main fabric, with the marked circle facing up. The fabrics should be right sides together.
I'm making a zippered pouch and have already cut the pattern piece for the pouch from the main fabric. This allows me to position the circle precisely. I've decided to place the circle in the center of the fabric.
Pin the fabrics together.
Step 2: Sewing the Circle
Sew directly on the drawn circle, stitching through both layers of fabric. Be sure to backstitch at the beginning and end to secure the stitches.
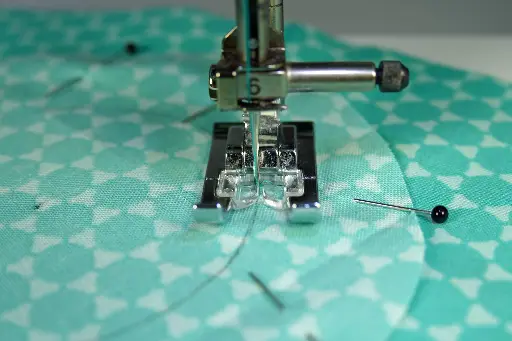
Using a smaller stitch length (2 mm/ 1/16" or less) can help create a smoother, more even circle. This makes it easier to follow the curve without producing angular stitches.

Sew very slowly, and if possible, reduce the speed of your sewing machine to maintain better control as you stitch the circle.

Turn the fabric slowly and evenly with your hands as you sew. Work in small sections, ensuring the fabric doesn’t pull or shift. You can also occasionally lift the presser foot (with the needle down in the fabric) to gently adjust the fabric’s position. If your sewing machine has a needle-down function (which keeps the needle in the fabric when you stop), use it. This helps you make precise curves as you reposition the fabric.
Consider practicing on a scrap piece of fabric first to get comfortable with the technique. This will help you perfect your timing and the turning motion before working on your final project.
Step 3: Cutting and Snipping the Circle
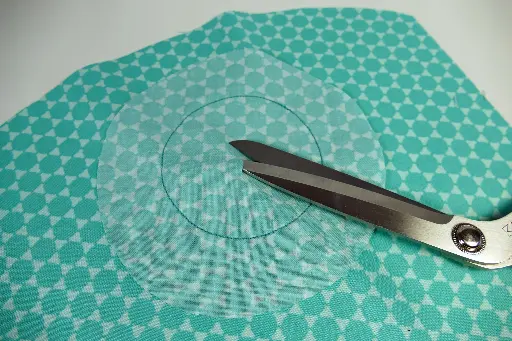
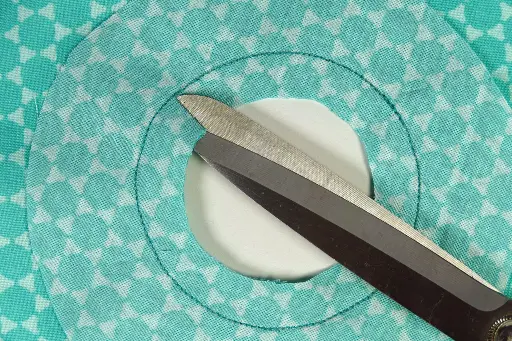
Cut out the circle: Carefully cut out the circle from the center of the stitched line, leaving a small seam allowance of about 3-5 mm. Be careful not to cut through the stitching.
Snip notches: Make small snips along the seam allowance, being careful not to cut into the stitching. These notches should be close together and will allow the fabric to turn smoothly when flipped inside out.
The smaller your circle, the closer you should place the snips next to each other. This will help the fabric turn more smoothly and create a cleaner, rounder edge.
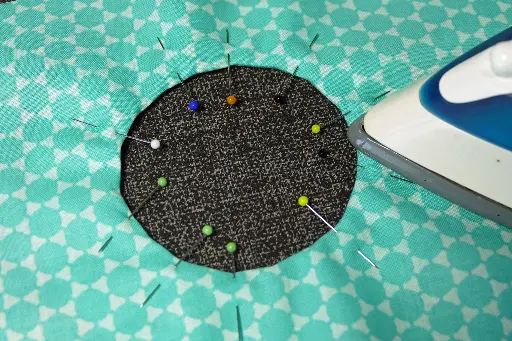
3. Turn the Edge Fabric to the Back: Fold the edge fabric to the back of the main fabric, so the seam is tucked inside and the circle edge is neatly finished. Carefully press the edges flat with an iron to create a sharp, clean edge.

Step 4: Attaching the Printed Fabric
Apply double-sided tape to the back of your main fabric, around the perimeter of the circle. This will help hold the printed fabric securely in place when you position it behind the circular window.


2. Position the Printed Fabric: Place the printed fabric underneath the main fabric, ensuring that the design is perfectly centered and visible through the finished circle. Adjust the position until you're satisfied with how the print appears through the circle.
Secure the Fabrics: Pin the fabrics together to ensure the printed fabric doesn’t shift during sewing. Make sure the pins are placed around the circle to keep everything in place as you stitch.

Sew the Fabrics Together: Stitch along the edge of the circle, just a few millimeters from the edge you previously finished, to secure the printed fabric in place. Make sure to sew carefully to maintain a smooth, even line around the circle.
Use the same technique as in the previous steps: sew slowly and with a small stitch length. This will help you maintain precision and create a clean, professional finish around the circular window.

Step 5: Finishing Touches
Press the fabric: Give your work a final press with an iron to smooth out any wrinkles and ensure a crisp, clean finish around the circle.
Finish the project: Continue with the rest of your sewing project, whether it’s assembling the zippered pouch or another design. Your circular window should now be beautifully integrated into your creation.

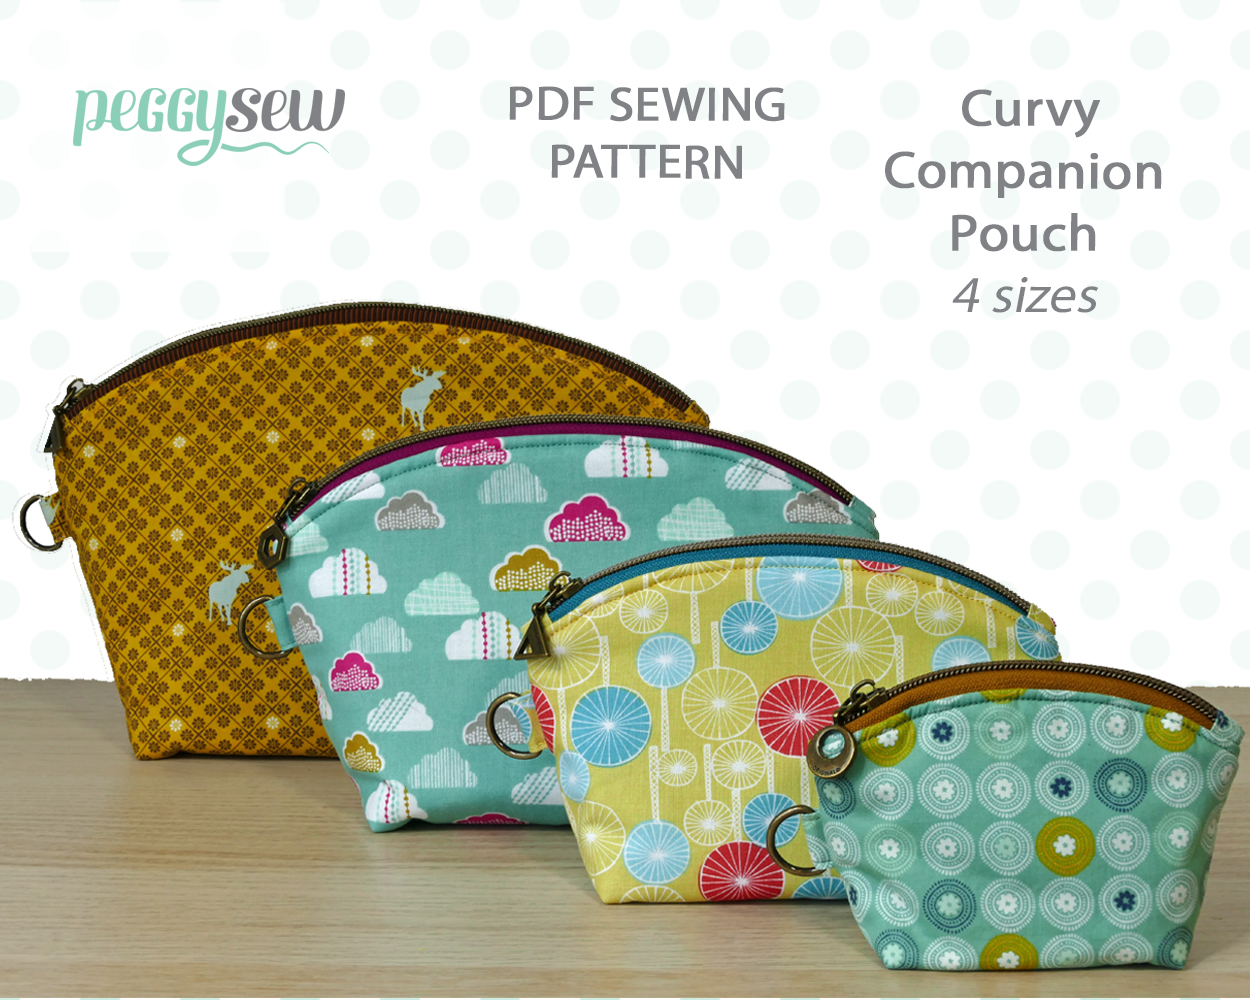
Ik gebruikte de stof met de cirkel om een ritszakje te maken.
Het patroon voor het ritszakje vind je hier